Monetizing your blog is one of the most exciting milestones as a new blogger — and Google AdSense is usually the first stop. But here’s the catch: getting approved isn’t automatic. Many beginner bloggers face rejection because they don’t follow the right steps.
In this in-depth guide from Helping Bloggers, you’ll learn exactly how to get approved for Google AdSense quickly, even if your blog is brand new.
Let’s dive in.
What Is Google AdSense?
Google AdSense is Google’s advertising platform that allows publishers (like bloggers) to earn money by displaying ads on their websites. Google places targeted ads based on your content and audience, and you get paid when visitors view or click on those ads.
But to join the program, you must meet specific eligibility requirements and set up your blog the right way.
Why Google AdSense Rejects Applications
Before we get into the steps to get approved, let’s look at why many blogs get rejected:
- Thin or low-quality content
- Not enough blog posts or traffic
- Missing essential pages (like About or Privacy Policy)
- Poor website design or navigation
- Using copyrighted images or plagiarized text
- Broken links or under-construction pages
Avoiding these mistakes is the first step to a successful application.
Step-by-Step Guide: How to Get Approved for Google AdSense Quickly
1. Use a Custom Domain and Self-Hosted WordPress Site
Google prefers professional-looking websites. That’s why your blog should be:
- Self-hosted (e.g., WordPress.org, not WordPress.com free plans)
- Have a custom domain (like
yourblog.com, notyourblog.wordpress.com)
Recommended Hosting Providers:
- Bluehost
- Hostinger
- SiteGround
2. Create High-Quality, Original Content
Google wants to approve sites that add value to users. This means:
- Write original, in-depth articles (1000+ words is ideal)
- Avoid AI-generated or copied content
- Target beginner-friendly topics in your niche
- Proofread your posts for grammar and spelling
Aim for at least 15–20 quality blog posts before applying.
3. Focus on a Clear Niche
Avoid being a generalist. Blogs that stick to one main niche (like “Blogging Tips for Beginners” or “Health & Wellness for Women”) get approved faster.
Why?
Google wants clear, focused sites — not a random mix of unrelated topics.
4. Create Must-Have Pages
Before applying, your blog should have these mandatory pages:
- About Page – Introduce yourself and your blog’s mission
- Contact Page – Include a form or email address
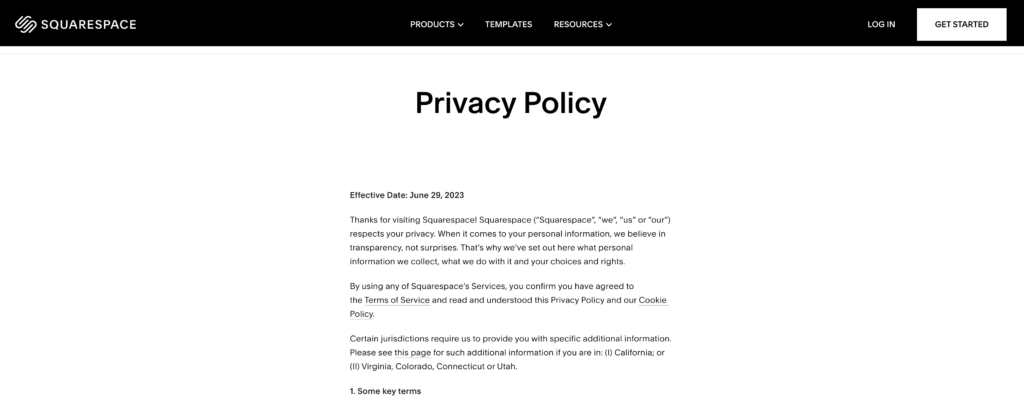
- Privacy Policy – Explain data collection, cookies, ads, etc.
- Terms & Conditions / Disclaimer Page – Optional but helpful
You can use free policy generators like TermsFeed or PrivacyPolicies.com to help.
5. Make Your Blog User-Friendly
Google evaluates user experience. Your blog must be:
- Easy to navigate with clear menus
- Mobile responsive
- Fast-loading (Use tools like PageSpeed Insights)
- Neatly designed — clean fonts, spacing, and no clutter
Avoid using flashy popups, autoplay videos, or ads from other networks before getting approved.
6. Use Copyright-Free Images
Never use random images from Google. Use only:
- Your original graphics
- Free image sites like Pexels, Unsplash, or Pixabay
- Or purchase from premium stock photo sites
Give proper credit if required.

7. Don’t Use Other Ad Networks (Yet)
If you already display ads from other networks (like Media.net or PropellerAds), remove them before applying for AdSense.
Google prefers clean ad-free sites during approval.
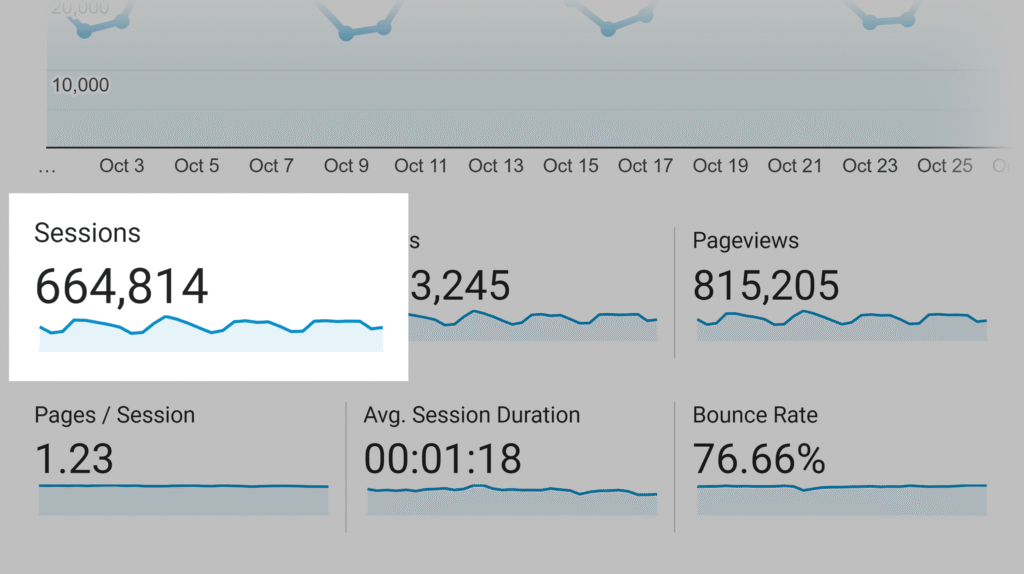
8. Improve Your Blog’s Traffic (Even a Little Helps)
You don’t need thousands of visitors, but having some organic or social traffic helps. Promote your blog on:
- Facebook groups
- Quora
- SEO (search engine optimization)
9. Write a Few Evergreen Blog Posts
Evergreen content stays relevant for months or years and shows Google you’re serious about providing lasting value.
Examples:
- How to Start a Blog for Beginners
- Best Free WordPress Themes
- Blogging Mistakes to Avoid
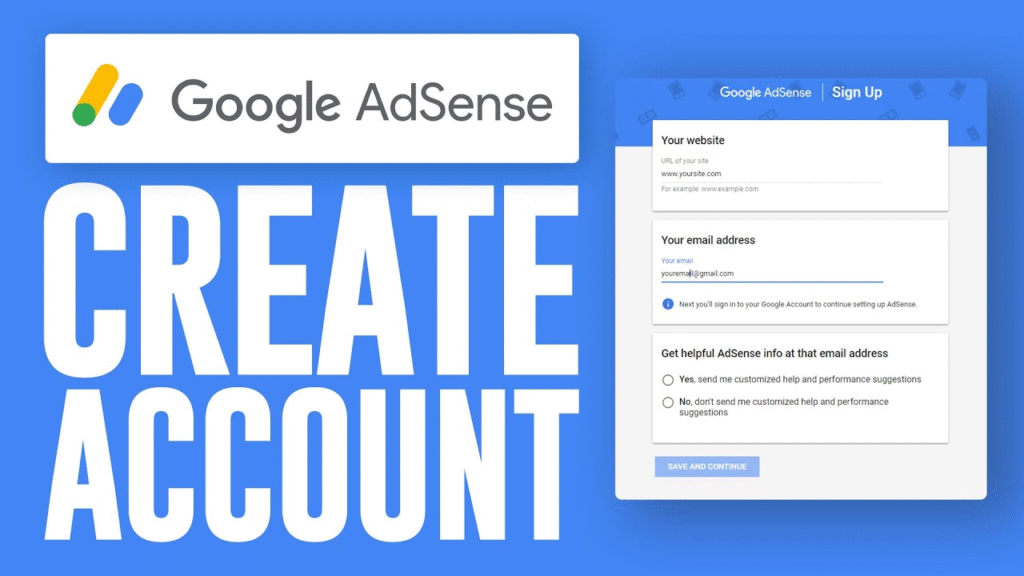
10. Apply for Google AdSense (Correctly)
Once you’ve done everything above, go to the Google AdSense site and:
- Sign up using your Google account
- Enter your blog URL and language
- Paste the AdSense code into your blog’s
<head>section - Wait for approval (usually takes 1–2 weeks)
Pro Tips to Increase Your Chances of Approval
- Use an email address with your domain (e.g., hello@yourblog.com)
- Avoid publishing adult, copyrighted, or sensitive content
- Don’t publish “Under Construction” pages
- Keep your blog active with consistent posting
After Approval: What’s Next?
- Place ad units in visible areas (sidebar, below post title, etc.)
- Avoid placing too many ads — it hurts user experience
- Monitor your earnings inside the AdSense dashboard
- Follow AdSense policies strictly
Common Reasons for AdSense Rejection (And Fixes)
| Reason | Fix |
|---|---|
| Insufficient content | Add 15+ quality posts |
| Navigation issues | Improve menu structure, remove broken links |
| Missing legal pages | Add About, Privacy, Contact, Terms pages |
| Site under construction | Remove all “coming soon” or blank pages |
| Plagiarized content | Write original content, run checks with Copyscape/Grammarly |
Frequently Asked Questions (FAQs)
Technically yes, but approval is harder. A custom domain and WordPress blog are highly recommended.
Use AI content cautiously. Make sure it’s original, useful, and not purely auto-generated.
Final Thoughts
Getting approved for Google AdSense isn’t as hard as it seems — if you follow the right steps. Focus on quality content, a professional-looking blog, and a great user experience. By setting things up correctly from the beginning, you’ll increase your chances of quick approval and future earnings.
At Helping Bloggers, we help beginners like you get started the smart way — so you can start earning from your blog faster.