Beginner’s Step-by-Step Guide to Eye-Catching Blog Visuals
In the blogging world, first impressions matter—a lot. Whether you’re sharing a new post on Pinterest, Facebook, or your own site, the graphic you use is often what catches attention first.
If you’re not a designer, don’t worry. That’s where Canva comes in. Canva is an easy-to-use, free graphic design tool made for non-designers like bloggers, coaches, and content creators.
In this step-by-step guide, you’ll learn exactly how to create beautiful blog graphics with Canva, even if you’re a total beginner.
Why Blog Graphics Matter
Your content might be gold, but without appealing visuals, many readers may scroll right past it. Here’s why quality blog graphics are essential:
- Boost engagement: Eye-catching visuals stop the scroll.
- Improve readability: Graphics break up long text and emphasize key points.
- Enhance brand identity: Consistent visuals build recognition.
- Drive more traffic: Especially on Pinterest and social media platforms.
Blogging isn’t just about writing—it’s also about visual storytelling.
What is Canva?
Canva is a free online graphic design platform that lets you create everything from social media graphics to PDFs to blog post images. It has a drag-and-drop interface, thousands of templates, and royalty-free elements.
Key benefits for bloggers:
- Beginner-friendly
- Free to use (with optional Pro plan)
- Access to thousands of templates
- Mobile and desktop access
- Brand Kit (Pro feature for consistency)
Getting Started with Canva (Step-by-Step)
Let’s walk through how to create your very first blog graphic using Canva.
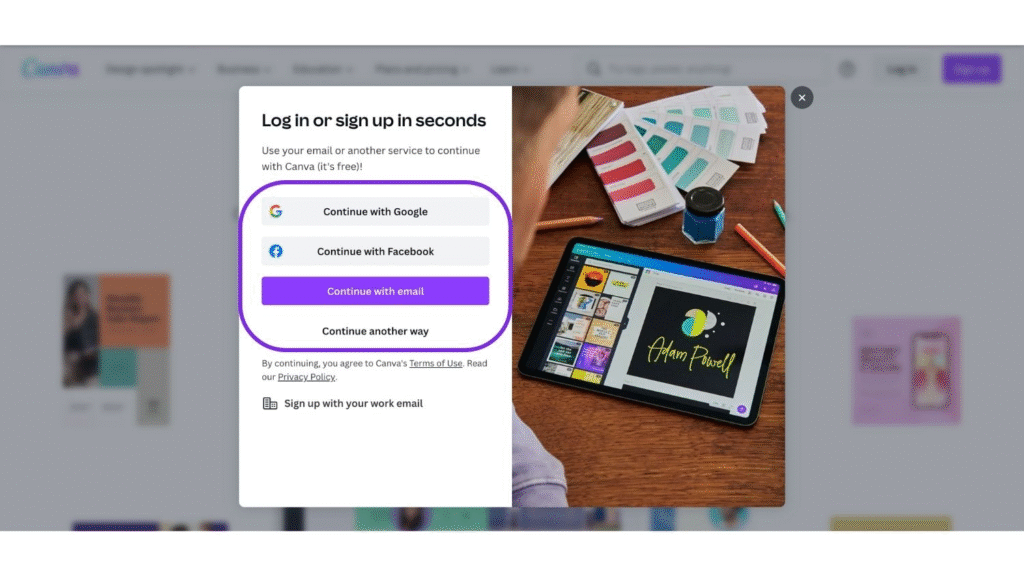
Step 1: Sign Up or Log In
Visit canva.com and sign up for a free account. You can also log in using Google or Facebook for quicker access.
Step 2: Choose the Right Design Size
For blog graphics, here are the most common dimensions:
- Featured image: 1200 x 628 px (standard for blog thumbnails)
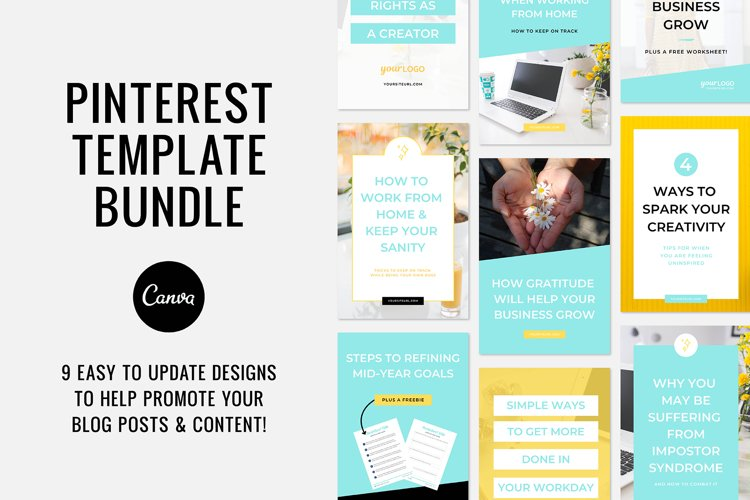
- Pinterest graphic: 1000 x 1500 px
- Social share image: 1080 x 1080 px (Instagram), 1200 x 1200 px (Facebook)
You can use Canva’s custom size feature if needed.
Pro Tip: Keep your brand image consistent across platforms by using similar layouts and colors.
Step 3: Select a Template
Canva has thousands of professionally designed templates. Go to the Templates section and search “Blog Graphic,” “Pinterest,” or “Featured Image.”
Choose one that fits your niche and branding.
Step 4: Customize Text, Fonts, and Colors
Edit the headline text to match your blog post title. Use readable fonts and high-contrast color combinations.
Tips for good blog graphic typography:
- Use no more than 2–3 fonts.
- Ensure text is legible on mobile.
- Use bold or shadow for visibility.
Step 5: Add Brand Elements
To maintain consistency, include your blog’s:
- Logo
- Brand colors
- Font choices
Pro Tip: Upgrade to Canva Pro to create a Brand Kit that saves your logo, fonts, and colors for quick access.

Step 6: Include Images or Illustrations
Use Canva’s built-in photo library or upload your own. Choose images relevant to your blog post topic. Avoid clutter and focus on clean, high-quality visuals.
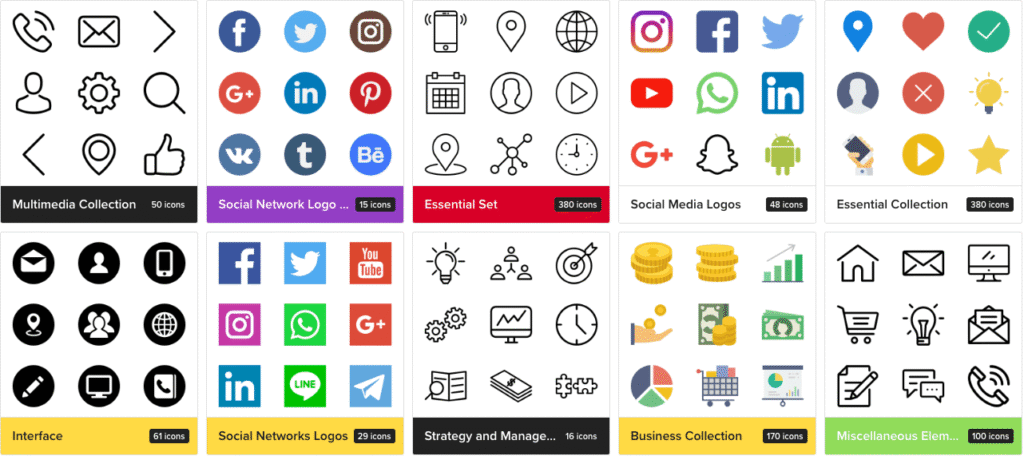
Step 7: Add Icons or Graphics
Icons help convey ideas quickly. Canva offers tons of free icons under the “Elements” tab. Use them to enhance readability or add design flair.
Step 8: Download and Upload to Your Blog
Click the Download button and choose format (usually PNG or JPG for images, PDF for lead magnets). Then upload the image to your WordPress media library and insert it into your post.
Tip: Use descriptive file names and alt text for SEO. Example: how-to-create-blog-graphics-with-canva.png
How to Maintain Visual Consistency on Your Blog
Brand consistency builds trust. Here’s how to keep your blog graphics uniform:
- Use the same color palette across all graphics.
- Stick to a consistent layout (e.g., title on top, image below).
- Use your logo in a corner or footer.
- Create a reusable template in Canva and duplicate it for new posts.
Best Practices for Blog Graphics
Follow these tips to ensure your blog visuals are doing their job:
- Keep text short and bold
- Use whitespace effectively
- Avoid clutter
- Stick to 2–3 colors and fonts
- Test how it looks on mobile devices
Canva Pro vs. Free: Is It Worth It?
| Feature | Canva Free | Canva Pro |
|---|---|---|
| Templates | ✓ | ✓ (with more options) |
| Photos | ✓ (limited) | ✓ (premium library) |
| Brand Kit | ✗ | ✓ |
| Background remover | ✗ | ✓ |
| Magic Resize | ✗ | ✓ |
| Price | $0 | $12.99/month |
Verdict: Start with the free version, and upgrade if you need brand consistency and time-saving features.
Promoting Your Blog Graphics
Creating beautiful graphics is only half the battle. Here’s how to get more eyes on them:
- Pinterest: Share every blog post graphic with keyword-rich descriptions.
- Instagram: Use square versions with captions that tease your content.
- Facebook groups: Share featured graphics in relevant blogging or niche groups.
- Your email list: Include graphics in your newsletters to boost engagement.
Frequently Asked Questions (FAQ)
Absolutely! Canva supports custom dimensions and templates for every major platform, including YouTube, Instagram, Pinterest, and more.
Use keyword-rich file names, write descriptive alt text, and reduce file size for faster loading.
Final Thoughts
Beautiful blog graphics are no longer optional—they’re essential for capturing attention, growing traffic, and building your brand. Thanks to tools like Canva, you don’t need to be a designer to create scroll-stopping visuals.
So what are you waiting for? Open Canva, choose a template, and start designing blog graphics that wow your readers.