A Resources Page is one of the most overlooked tools for affiliate marketing. Yet, it can become a powerful money-maker when done right.
Whether you’re just getting started with blogging or trying to monetize your site passively, this guide will show you how to create a high-converting Resources page that builds trust and boosts affiliate income.
Let’s break it down — step-by-step.
What is a Resources Page?
A Resources Page is a dedicated page on your blog where you list the tools, services, and products you recommend. Think of it as a curated toolbox you personally endorse to help your audience.
These tools often include:
- Hosting providers
- WordPress themes & plugins
- Email marketing tools
- SEO tools
- Design platforms
- Courses or eBooks
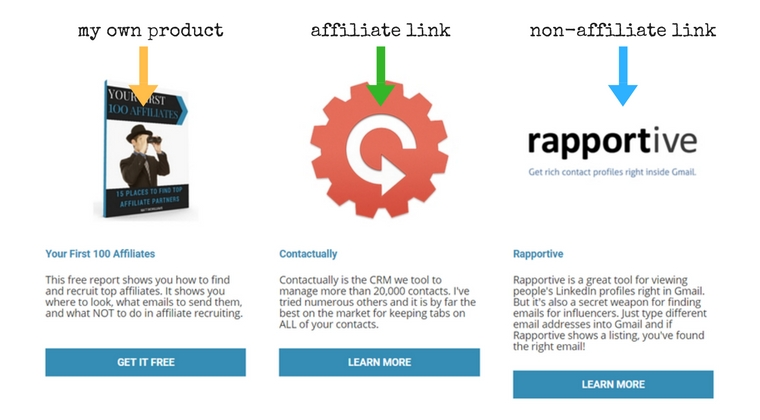
If these tools offer affiliate programs, you can earn a commission whenever someone clicks your unique link and makes a purchase.
Why Every Blogger Should Have a Resources Page
Here are a few reasons why this page is a must-have:
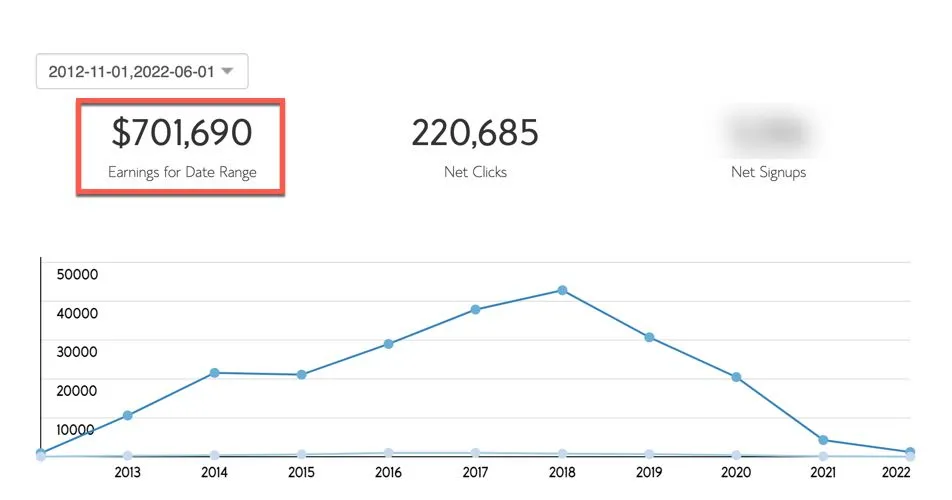
- Passive Income Generator: You set it once and earn as long as people use your links.
- Highly Targeted Traffic: Readers looking for recommendations are already in “buying mode.”
- Builds Authority: Recommending quality tools shows you know your stuff.
- Supports Your Content: It complements your blog posts, tutorials, and guides.
How to Plan Your Resources Page for Maximum Conversions
Before you start designing the page, let’s plan it right.
1. Know Your Audience
Ask yourself:
- What tools will help my readers grow their blog?
- What services did I find useful when I was a beginner?
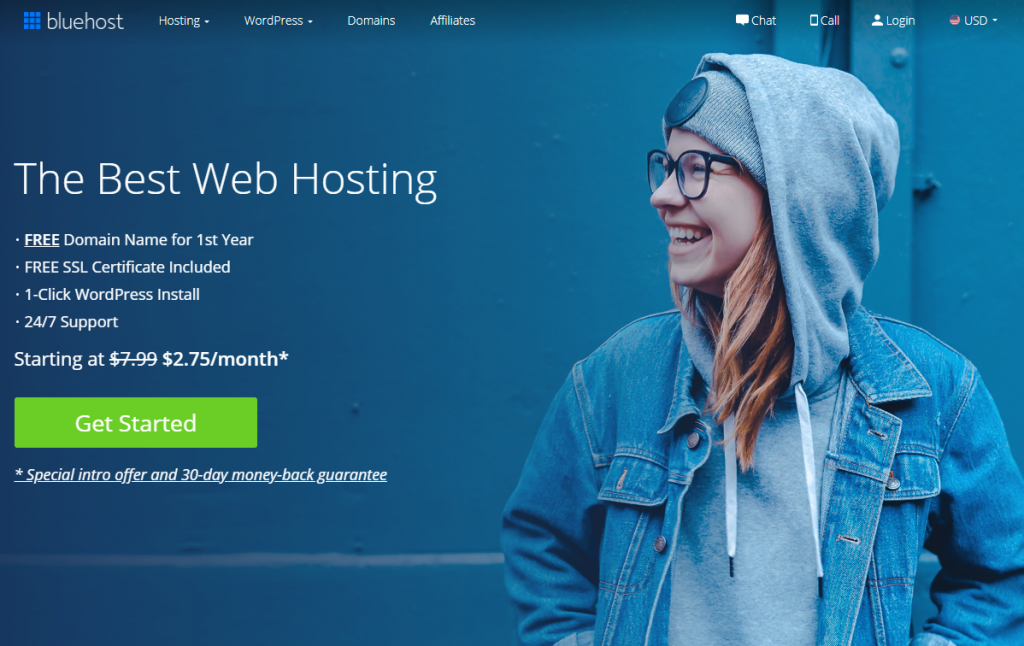
Tailor your resources list to your niche. If your blog is about blogging for beginners, tools like Bluehost, Elementor, and ConvertKit are perfect.
2. Choose the Right Affiliate Programs
Only promote tools you’ve used or trust.
Here are some beginner-friendly affiliate programs:
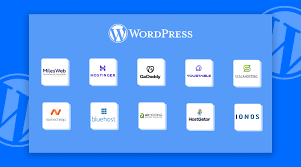
- Bluehost (Hosting)
- Namecheap (Domains)
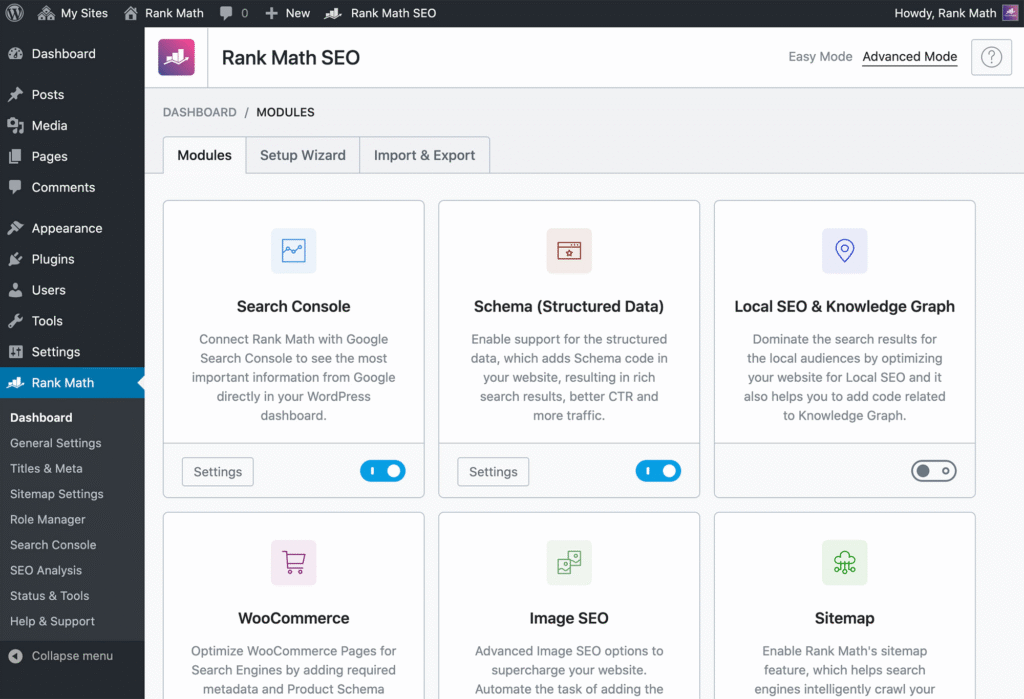
- Rank Math (SEO plugin)
- ConvertKit (Email marketing)
- Canva Pro (Design)

Step-by-Step: How to Create a Resources Page That Converts
Let’s now walk through building your page from scratch.
Step 1: Create a New Page in WordPress
- Go to WordPress dashboard → Pages → Add New
- Title it something like:
- “My Favorite Tools”
- “Recommended Resources”
- “Tools I Use to Grow My Blog”
Step 2: Write a Short Introduction
Explain what the page is about and why you’re recommending these tools. Be transparent and mention that some links are affiliate links.
Example:
“This page contains tools I personally use to run Helping Bloggers. Some of the links are affiliate links, meaning I may earn a commission if you click and purchase — at no extra cost to you. I only recommend what I love and trust!”
Step 3: Organize Tools by Categories
This makes the page easy to scan.
Example Structure:
- Blog Hosting
- Domain Registration
- WordPress Themes
- Email Marketing Tools
- Design Tools
- SEO & Analytics
- Content Creation Tools
Use headings (H3) for each category.
Step 4: Add Descriptions + Affiliate Links
For each tool:
- Write 2–3 lines explaining what it does
- Mention why you like it
- Add your affiliate link with a clear call-to-action
Example:
✅ Bluehost (Hosting)
I started my blogging journey with Bluehost. It’s affordable, beginner-friendly, and officially recommended by WordPress.
👉 Start your blog with Bluehost — My Special Discount Link
Step 5: Add Buttons or Boxes for Better Design
Use Elementor or Gutenberg blocks to:
- Highlight tools using columns or cards
- Add CTA buttons like “Try for Free” or “Sign Up Now”
- Use icons to make sections visually appealing
Smart Tips to Optimize Your Resources Page for Affiliate Income
1. Keep It Updated
Check every 1–2 months:
- Are links working?
- Are deals and pricing accurate?
- Is there a better tool you discovered?
2. Link to It Often
Place internal links to your Resources Page in:
- Sidebar or footer
- Navigation menu
- Within blog posts (like “Check my tools here”)
3. Use SEO Techniques
- Use keywords like “best blogging tools,” “resources for new bloggers,” etc.
- Add schema markup (if using Rank Math/Yoast)
- Optimize the slug and meta description
4. Include Testimonials (Optional)
Add short reviews or quotes about why you recommend a tool. If you have audience feedback, that’s even better.
Embed Relevant Videos (If Available)
Promote Your Resources Page
Once your page is live, promote it using:
- Email newsletters (e.g., “Tools I Use to Blog”)
- Instagram bio link
- Pinterest pins linking to the page
- Blog post CTAs like “Check out all my blogging tools”
Example Resources Page Links from Top Bloggers
Looking for inspiration? Check out how top bloggers do it:
- Smart Passive Income — Tools Page
- By Sophia Lee — Blogging Resources
- Start a Mom Blog — Free & Paid Tools
Common Mistakes to Avoid
- Promoting tools you’ve never used
- Writing vague descriptions with no personal touch
- Listing too many tools (it overwhelms readers)
- Not disclosing affiliate links
Final Thoughts: Start Monetizing Your Blog Today
Creating a Resources Page is one of the easiest and most passive ways to start earning with affiliate marketing.
It works for you 24/7, builds trust, and helps your readers discover tools they actually need.
If you haven’t created one yet — now is the perfect time.
FAQ: Resources Page & Affiliate Income
Yes! Start with what you use. You can always update it as you grow.
Absolutely. It’s a legal and ethical requirement. Mention it at the top of the page.